If you’re a fan of quick and healthy cooking, you’ve likely heard of the Ninja Air Fryer. This innovative kitchen appliance has gained popularity for its ability to crisp up your favorite foods using hot air, all while using significantly less oil than traditional frying methods. However, there’s a crucial step you should never skip when using your Ninja Air Fryer: preheating.
In this article, you’ll learn the essential steps of how to preheat a Ninja Air Fryer for quicker & evenly cooked dishes. Whether you’re new to air frying or a seasoned pro, understanding the why and how of preheating will elevate your culinary creations. So, let’s get started!
Why Preheat Your Ninja Air Fryer?
Here are some important reasons you must preheat your air fryer:
1. Cooking Precision
Preheating your Ninja Air Fryer isn’t just a suggestion; it’s a culinary necessity. It ensures that your appliance reaches the desired cooking temperature before you begin cooking.
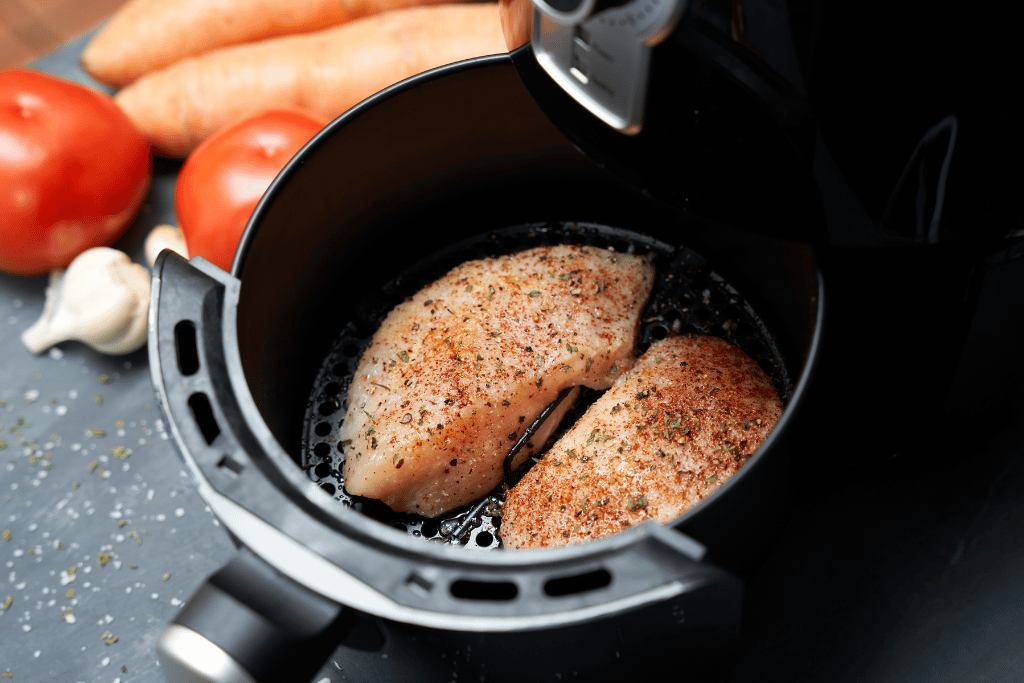
Imagine this: You’ve just placed your perfectly seasoned chicken wings in the air fryer basket, but the appliance is still cold. The result? Longer cooking times and unevenly cooked food. By preheating, you eliminate this issue, allowing your food to start cooking immediately at the set temperature.
2. Crispy, Delicious Results
One of the main reasons people love their Ninja Air Fryer is its ability to produce crispy and golden-brown food without submerging it in oil. Preheating plays a crucial role in achieving this.
When your air fryer is hot from the start, it sears the exterior of your food, creating that delightful crunch we all crave. Without preheating, your food might turn out soggy or less crispy, which is not what you want when air frying your favorites.
3. Even Heat Distribution

Preheating isn’t just about reaching the desired temperature; it’s also about ensuring that heat is evenly distributed throughout the cooking chamber. This is vital for consistent results, especially when cooking larger batches.
Think of your Ninja Air Fryer as an oven – preheating guarantees that the entire cooking area is uniformly hot, preventing the need to rearrange or flip your food constantly.
4. Reduced Cooking Time
Time is precious in the kitchen, and preheating your Ninja Air Fryer can save you a significant amount of it. When your appliance is ready to go from the start, it reduces the overall cooking time. So, if you’re hungry and eager to enjoy your meal sooner, preheating is your best friend.
Now that you understand the importance of preheating your Ninja Air Fryer let’s move on to the practical steps of how to do it. Preheating may sound simple, but it’s a step that can make a world of difference in your air-frying adventures. Let’s dive into the details of how to preheat your Ninja Air Fryer properly.
How to Preheat a Ninja Air Fryer
Preheating your Ninja Air Fryer is a straightforward process that can greatly enhance your cooking experience. Here are the steps to follow:
Step 1: Plug in and Place
Begin by placing your Ninja Air Fryer on a clean, flat, and stable surface. Ensure it’s close to an electrical outlet so you can easily plug it in. The stability of the surface is crucial to prevent any accidents or spills during operation.
Step 2: Temperature Selection
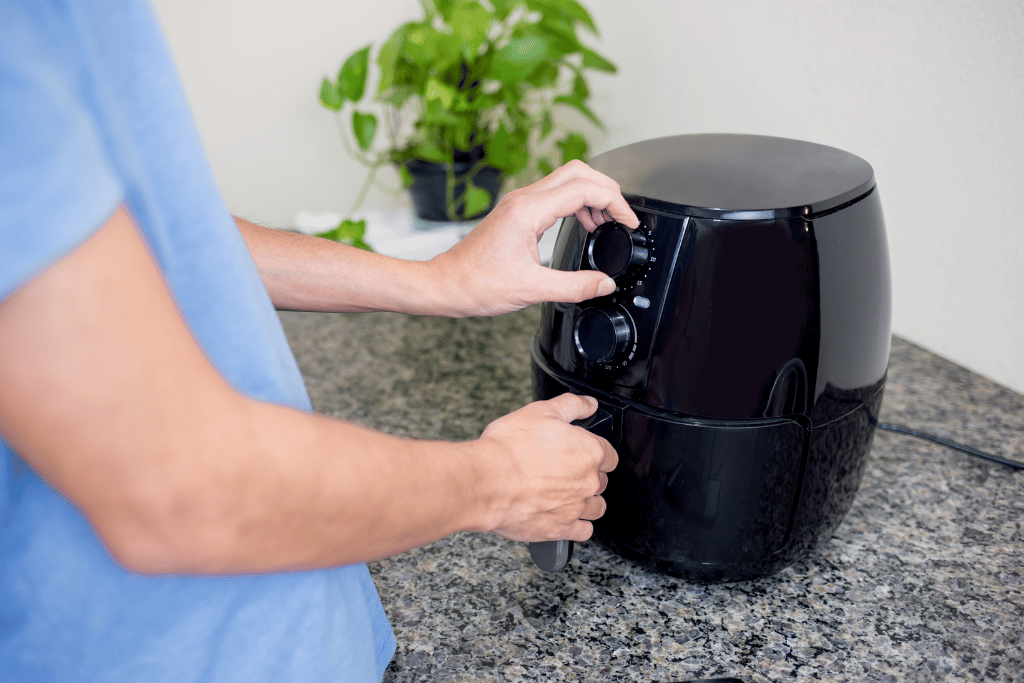
Once your air fryer is in position, it’s time to select the cooking temperature. Most Ninja Air Fryers come with a temperature control knob or digital display. Turn the knob or use the digital controls to set the temperature to the level required for your recipe. Refer to your recipe or cooking guidelines for the appropriate temperature.
Step 3: Time Adjustment

After setting the temperature, you’ll need to adjust the preheating time. Many Ninja Air Fryers have a timer that allows you to set the desired preheating duration. Again, consult your recipe or the manufacturer’s guidelines for the recommended preheating time.
Step 4: Start Preheating
Now that you’ve selected the temperature and adjusted the time, it’s time to initiate the preheating process. This is typically done by pressing a “Preheat” button or starting the air fryer. Some models may require you to press “Start” or “On” to begin preheating. Refer to your specific model’s instructions for the exact procedure.
Step 5: Wait Patiently
During the preheating process, your Ninja Air Fryer will work to reach the set temperature. This may take a few minutes, and the appliance may emit a gentle humming sound. It’s essential to be patient during this phase, as it ensures that the cooking chamber is evenly heated for your upcoming culinary adventure.
Step 6: Ready to Cook
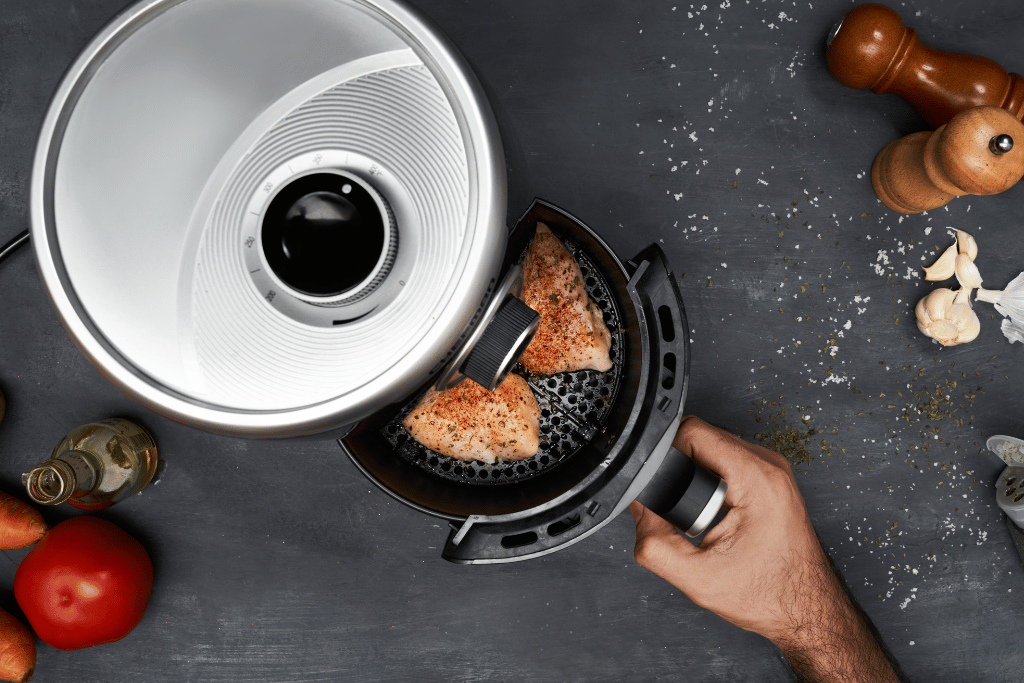
Once your Ninja Air Fryer has reached the desired preheating temperature, it’s ready to cook. You’ll typically receive a signal or notification, such as a beep or a digital display indicator, indicating that preheating is complete. Now, you can proceed to place your food in the air fryer basket and start cooking.
Remember that preheating times may vary depending on the model and the selected temperature. It’s always a good practice to consult your specific Ninja Air Fryer’s user manual for precise preheating instructions. Now that you’ve successfully preheated your air fryer, you’re well on your way to creating delicious, crispy, and evenly cooked meals every time.
Tips for Effective Preheating
Now that you know how to preheat your Ninja Air Fryer let’s explore some valuable tips to ensure that your preheating process is as effective as possible:
1. Follow Recipe Guidelines
Different recipes may require different preheating temperatures and times. Always refer to your recipe’s specific instructions for the best results. Some recipes may even recommend not preheating, so be sure to read them carefully.
2. Don’t Overload the Basket
It’s tempting to pack your air fryer basket to the brim, but overloading can hinder the preheating and cooking process. Ensure there’s enough space for air to circulate around the food items for even cooking.
3. Use the Right Temperature Setting
Selecting the correct temperature setting is crucial. While preheating, choose the temperature recommended by your recipe or the one that suits your dish. Remember, preheating helps your food cook more evenly and efficiently.
4. Avoid Opening the Basket

Resist the urge to peek inside the air fryer basket during preheating. Opening the basket prematurely can release the hot air, affecting the preheating process and ultimately the cooking time and results.
5. Keep it Clean
Maintaining a clean air fryer is essential for efficient preheating and cooking. Remove any food debris or grease buildup from previous use. Clean the basket, tray, and inner surfaces regularly to ensure optimal performance.
When Is Preheating Your Ninja Air Fryer Unnecessary?
There are certain situations when preheating may not be necessary or even advisable. Here are some scenarios when you might consider skipping the preheating step:
1. Short Cooking Times:
If your recipe has a very short cooking time, typically less than 5 minutes, preheating may not be essential. For quick recipes like reheating leftovers or making crispy toast, you can save time and energy by skipping preheating.
2. Certain Baking Recipes:
Some baking recipes that involve items like muffins, cupcakes, or cookies may not require preheating. These recipes often benefit from starting in a cold oven to help the baked goods rise properly.
3. Energy Conservation:
If you’re conscious about energy consumption, you might choose not to preheat when it’s not absolutely necessary. While preheating doesn’t consume a significant amount of energy, every bit counts if you’re trying to reduce your environmental footprint.
4. Convenience and Speed:
In situations where you need a quick meal or snack and can’t spare the time to preheat, you can go ahead and start cooking without preheating. Just be aware that cooking times may be slightly longer, and the results could differ slightly from recipes that recommend preheating.
5. Air Frying Frozen Foods:

When air frying frozen foods like store-bought frozen fries or chicken nuggets, preheating may not be required. You can often place these items directly into a cold air fryer and then adjust the cooking time as needed.
6. Experimentation:
Cooking is also about experimentation and personal preferences. If you’re curious about how a specific dish turns out without preheating, feel free to give it a try. Just keep in mind that results may vary.
What Happens When You Skip Preheating Your Ninja Air Fryer?
Preheating your Ninja Air Fryer is a crucial step in the cooking process that ensures your appliance reaches the desired cooking temperature before you begin cooking.
You may wonder what happens if you decide to skip this step. Here’s what you can expect if you don’t preheat your Ninja Air Fryer:
1. Longer Cooking Times:
One of the most noticeable effects of skipping preheating is longer cooking times. When you place your food in a cold air fryer, it takes time for the appliance to reach the desired cooking temperature. As a result, your food will start cooking in a colder environment, extending the overall cooking time.
2. Uneven Cooking:
Without preheating, the heat distribution within the air fryer may be uneven during the initial stages of cooking. This can lead to unevenly cooked food, with some portions being overcooked while others remain undercooked.
3. Less Crispy Results:
Preheating is essential for achieving that coveted crispy texture when air frying. When you skip preheating, your food may not crisp up as nicely, resulting in less satisfying results, especially for dishes where crispiness is desired.
4. Reduced Energy Efficiency:
While preheating consumes some energy, not preheating can also have energy-related consequences. Cooking times are extended, which means the air fryer runs for a longer duration, using more energy than if you had preheated.
5. Inconsistent Quality:
The quality and consistency of your cooking may suffer when you don’t preheat. This can be particularly noticeable in recipes that require precise cooking times and temperatures, such as baked goods or delicate dishes.
6. Potential Food Safety Concerns:
In some cases, not preheating can pose food safety risks, especially when cooking meat or poultry. Starting with a cold air fryer may result in a longer period when the food is within the “danger zone” (40°F to 140°F or 4°C to 60°C), where bacteria can multiply rapidly.
How Do You Know If Ninja Air Fryer Is Preheated?

Knowing when your Ninja Air Fryer is preheated is essential to ensure that your cooking begins at the desired temperature.
Fortunately, most Ninja Air Fryer models are designed to provide clear indicators when the preheating process is complete. Here’s how you can tell if your Ninja Air Fryer is preheated:
1. Preheat Light or Indicator:
Many Ninja Air Fryers have a preheat light or indicator that illuminates when the appliance is preheating. This light is typically located on the control panel and will turn off when the air fryer has reached the set cooking temperature. Keep an eye on this indicator as it’s a straightforward way to know when your air fryer is ready for cooking.
2. Audible Signals:
Some Ninja Air Fryer models are equipped with audible signals that alert you when the preheating process is complete. You may hear a beep or a sound that indicates it’s time to start cooking. This is a convenient feature, especially if you’re not in close proximity to the air fryer while it’s preheating.
3. Digital Display:
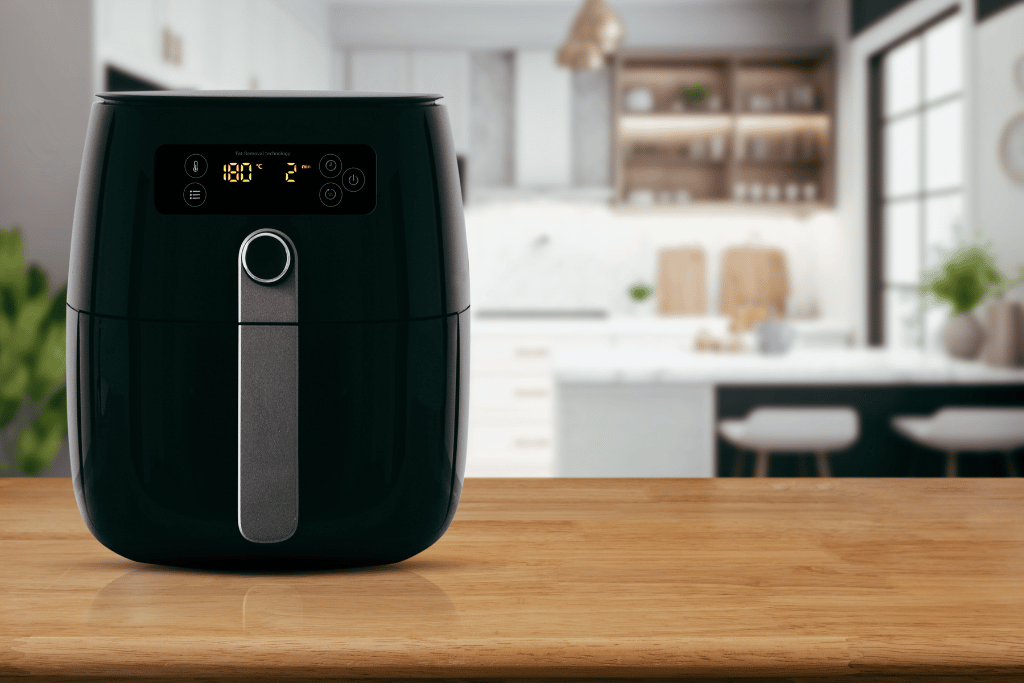
If your Ninja Air Fryer has a digital display, it will often show the current temperature as it preheats. As the temperature climbs to the set cooking temperature, you can monitor the display until it matches your desired level. Once it reaches the target temperature, the display will stabilize, indicating that preheating is complete.
4. Time Indicator:
In some models, the air fryer’s timer may serve as an indicator of preheating completion. When you start preheating, the timer will count down until it reaches zero. Once it does, this signals that the air fryer is ready for cooking. Keep in mind that this method is most effective when you’ve set a specific preheating time.
5. User Manual Guidelines:
If your Ninja Air Fryer lacks visible indicators, consult the user manual that came with your appliance. The manual often provides guidelines on preheating times and methods for your specific model. It may also include tips on how to know when preheating is complete.
It’s important to note that the time it takes for your Ninja Air Fryer to preheat may vary depending on the model, the selected temperature, and the initial room temperature. Generally, preheating takes approximately 2-5 minutes, but this can differ between models.
Conclusion
In today’s kitchens, the Ninja Air Fryer stands out as a versatile tool for healthier and tastier meals. However, one often-overlooked step can make a big difference: preheating.
Throughout this article, we’ve stressed the importance of preheating and learned how to preheat a Ninja Air Fryer. It ensures your air fryer reaches the right temperature before cooking, resulting in faster, even, and crispier results.
We’ve also provided valuable tips, from following recipes to keeping your air fryer clean for optimal performance. So, remember, preheating isn’t just a suggestion; it’s a game-changer. It empowers you to create restaurant-quality dishes with ease.
Next time you’re cooking, don’t skip preheating. It’s the secret to consistently great results with your Ninja Air Fryer.
With this knowledge, you’re ready for culinary adventures, whether you’re a beginner or a seasoned air fryer enthusiast. Enjoy your cooking and happy air frying!
Frequently Asked Questions
Do I Need to Preheat Every Time?
While preheating is recommended for most recipes, some recipes, particularly those with shorter cooking times, may not require preheating. It’s best to follow your recipe’s instructions to determine if preheating is necessary.
Can I Preheat in Advance?
Yes, you can preheat your Ninja Air Fryer in advance. Preheating ahead of time can save you a few minutes when you’re ready to start cooking. However, be mindful of safety and energy consumption if you choose this option.
What If I Forget to Preheat?
If you forget to preheat your air fryer and have already placed your food inside, it’s not the end of the world. You can still start the preheating process with the food inside, but it might result in slightly longer cooking times and potentially different results than if you had preheated.